
About This Holiday Lighting Guide
Prepared by: Holiday Illumination Christmas Light Installation
Last updated: October 26, 2026
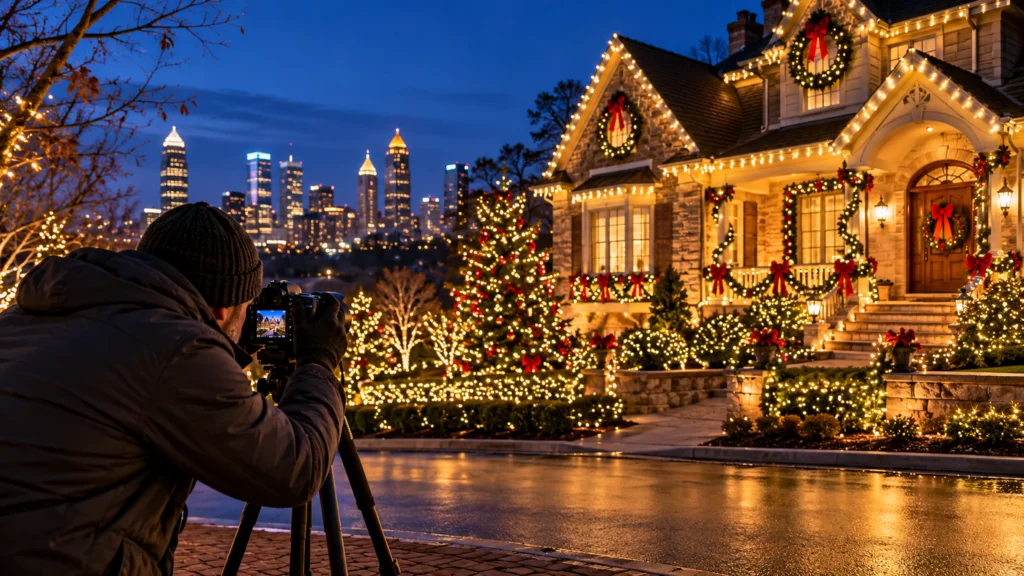
If you want to photograph outdoor Christmas lights in Atlanta, your best image usually comes before the sky turns completely black. Holiday displays combine bright bulbs with dark architecture, making it easy for a phone to wash out the lights or lose the house altogether. A few deliberate choices about timing, composition, and exposure can reveal the design more accurately.
These tips are useful whether you are sharing a family photo or reviewing the appearance of a newly installed residential Christmas lighting display. The objective is to show the relationship between the illuminated roofline, entry, landscaping, and surrounding house—not merely a collection of glowing dots.
Begin during blue hour
Blue hour is the short interval after sunset when the sky retains some color but decorative lights are visible. It often creates a more balanced photo than the darkest part of the night because architectural details remain recognizable. The ideal moment depends on cloud cover, nearby lighting, and the exposure behavior of your camera.
Take a few test photos as daylight fades rather than relying on one exact minute. In Atlanta neighborhoods with streetlamps and illuminated houses, slight changes in sky brightness can dramatically improve the separation between a roofline and the background.
Expose for the lights, not the dark yard
Automatic phone exposure may brighten the entire scene, causing light bulbs to become featureless white spots. Tap on a bright but representative part of the display and lower the exposure slider until individual bulbs or strands regain definition. You can brighten shadows carefully later, but detail lost in completely blown highlights is difficult to recover.
Avoid using the phone’s flash for a wide exterior view. It will usually illuminate only nearby objects while doing little to improve distant roofline lighting. A stable handheld position or support can be more useful than extra light.
Choose a viewing angle that explains the design
A straight-on shot can show symmetry, but a slight angle often reveals porch depth, layered rooflines, and illuminated trees. Move a few steps to see whether a large tree blocks the front door or whether a vehicle cuts across the foreground. A tidy composition lets the eye follow the main roof edge toward the entrance.
A useful reference is the roofline lighting service, which emphasizes readable architectural lines. In photography, those lines can serve as strong visual guides if the house remains level and the camera is not tilted excessively upward.
Keep bright objects out of the edge of the frame
Streetlights, headlights, security lamps, and neighboring displays can attract more attention than the subject. Repositioning by a few feet may remove an unwanted light source or hide it behind a tree trunk. Wet pavement can introduce attractive reflections, but it can also create bright patches that distract from the facade.
When photographing along a street, remain in safe pedestrian areas. Do not step into traffic or onto private property to get an angle. Better framing is never worth compromising safety.
Capture detail shots that tell a story
After taking a wide exterior image, photograph the features that make the display distinctive: a wrapped tree, wreath at the door, consistent roofline spacing, or a decorated porch. Small details help viewers understand workmanship and texture that may be invisible in one wide shot.
The tree-wrapping service is a useful example of a feature that often looks stronger in a medium-distance photograph than in a distant full-property frame. Compose around the trunk shape rather than cropping it awkwardly at the top or bottom.
Edit for accurate color rather than maximum saturation
Phones sometimes make warm-white bulbs look orange or cool white look blue. Adjust white balance gently until the image resembles what you saw outdoors. Avoid excessive saturation, sharpening halos, and dramatic contrast that make the lights look unrealistic. A trustworthy photo should represent the display, especially if it will be used to explain a future design.
Compare edits on more than one screen if color fidelity is important. Very bright displays can look different on a phone versus a large desktop monitor, and neither automatically reflects the actual appearance on the property.
Build a simple before-and-after photo set
Photograph the home in daylight before installation, then take evening images from roughly the same position after the display is operating. Consistent framing makes it easier to evaluate which roofline, entrance, and landscape features changed the scene. If you are planning another season, label the images with the year and a short note about colors or zones.
These images can support a future conversation about design scope. The site’s planning checklist offers questions about architecture, timing, access, and seasonal service that photos alone cannot answer.
Common Christmas lights photography questions
For inspiration on balanced exterior presentation, compare a few images and design features on the Holiday Illumination homepage before choosing the final photo angle.
Should I use night mode on my phone?
It can help, but long exposures may blur moving tree branches or people and exaggerate brightness. Try standard mode with reduced exposure as well as night mode, then compare the results.
Why do my Christmas lights look like solid white lines?
The highlights may be overexposed or the camera may be moving. Reduce exposure, stabilize the phone, and shoot before the sky becomes completely dark.
How can I photograph both the house and a bright tree?
Step back enough to include both, consider blue-hour light, and expose carefully so the brightest feature retains detail. Multiple compositions may work better than one crowded frame.
Use photographs to improve next season’s display
Share well-framed daylight and nighttime images when discussing a property-specific lighting estimate. The photos show what the design actually looks like from everyday viewing angles and help turn vague preferences into useful installation decisions.